Dyson vacuums, especially the popular Dyson V8 Absolute cordless model, are known for their powerful suction and exceptional cleaning performance. To maintain this high level of performance, regular maintenance and cleaning of the vacuum filter are essential.
A clean filter ensures that the vacuum operates efficiently, picking up debris from bare floors, hardwood floors, carpets, and even low-pile carpets effortlessly.
In this article, we will guide you on how to clean the the Dyson V8 filter of the cordless vacuum to keep it running smoothly and effectively.
Tools You’ll Need
Before you start cleaning your Dyson V8, gather the following tools:
-
- Soft-bristled brush or toothbrush
-
- Damp microfiber cloth
-
- Mild detergent (if needed)
-
- Flat tool (for disassembling cyclone)
-
- Flathead screwdriver (for disassembling brush head)
-
- Water source for rinsing (cold water only)
-
- Air compressor or compressed air can (optional, for cyclone cleaning)
Why Cleaning the Filter Matters
The filter is a crucial component of any vacuum cleaner, including the Dyson V8 Absolute. Its primary function is to trap dust, dirt, hair, and other particles while allowing clean air to pass through.
Over time, as the vacuum collects debris, the filter can become clogged, reducing suction power and overall cleaning performance and as a result your dyson might start pulsing. Cleaning the filter regularly is essential to maintain the vacuum’s powerful suction and ensure it continues to pick up dirt effectively.
Step-by-Step Guide To Clean the Filter of Dyson V8 Cordless Vacuum
Step 1: Power Off and Unplug the Vacuum
Before starting any maintenance on your Dyson V8, ensure that the vacuum is powered off and unplugged from the charging dock. This precautionary measure is crucial for safety during the cleaning process.
Step 2: Locate the Filter
On the Dyson V8 Absolute, the filter is typically located near the dust canister and is easily accessible. The filter can be either a washable filter or a HEPA filter, depending on the specific model. Refer to the user manual or product specifications to identify the type of filter your Dyson V8 uses.
Step 3: Remove the Filter
Carefully remove the filter from the vacuum. For washable filters, gently twist or pull it out, while HEPA filters may require unlocking or releasing mechanisms. Follow the manufacturer’s instructions to avoid damaging the filter during removal.
Step 4: Shake Off Loose Debris
Take the filter outside or over a trash can and gently shake it to remove any loose debris, dirt, and dust that has accumulated. This step helps dislodge larger particles from the filter before proceeding to the next cleaning stage.
Step 5: Rinse With Cold Water
For washable filters, rinse the filter under cold water to remove stubborn dirt and grime. Avoid using hot water, as it may damage the filter. Rinse until the water runs clear and all debris is washed away.
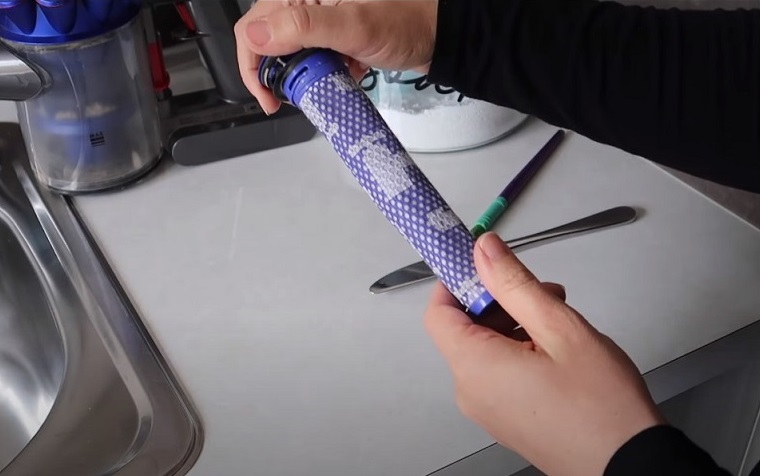
Step 6: Gently Clean the Filter
For filters with more stubborn dirt or debris, you can use a soft-bristled brush to gently scrub the filter. Be careful not to use excessive force to avoid damaging the filter material.
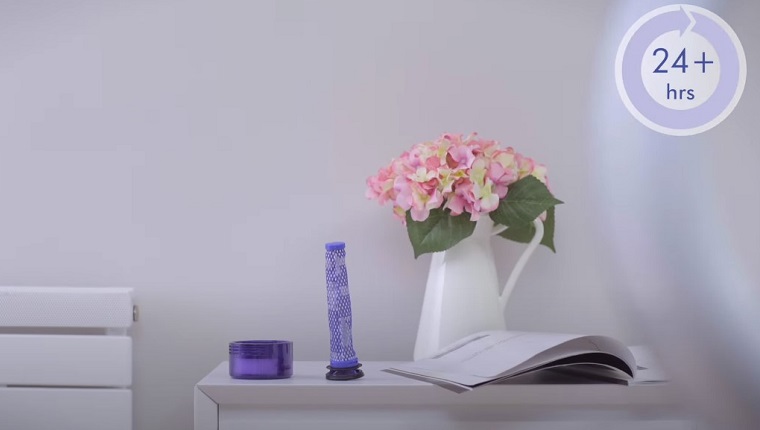
Step 7: Allow the Filter To Dry Completely
After rinsing and cleaning the filter, place it in a well-ventilated area and let it air dry completely. Avoid reinstalling a damp filter, as this can affect the vacuum’s suction power and cause mold or mildew to form.
Step 8: Reinstall the Filter
Once the filter is fully dry, reinstall it into the vacuum following the correct orientation. Make sure it fits securely in place before resuming vacuuming tasks.
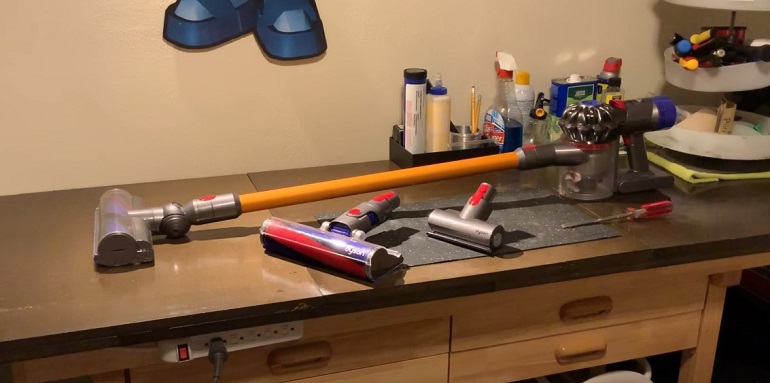
Step 9: Clean Other Components
While you’re at it, take the opportunity to clean other components of the vacuum, such as the dust canister, cleaning head, soft roller, and brush. Use a damp microfiber cloth to wipe away dirt and debris, ensuring that all parts are clean and ready for the next cleaning session.
How To Clean Dyson V8 Cyclone?
Cleaning the cyclone assembly is vital for maintaining the vacuum’s suction power. Here’s how to disassemble and clean the Dyson V8 cyclone:
Steps to Disassembling Dyson V8 Cyclone:
Before you start disassembling the cyclone assembly of your Dyson V8, ensure that the vacuum is powered off and unplugged from the charging dock for safety.
Step 1: Remove the Pre-Motor Filter
Begin by removing the pre-motor filter from the vacuum. This filter is typically located at the top of the motor unit and needs to be taken out before proceeding.
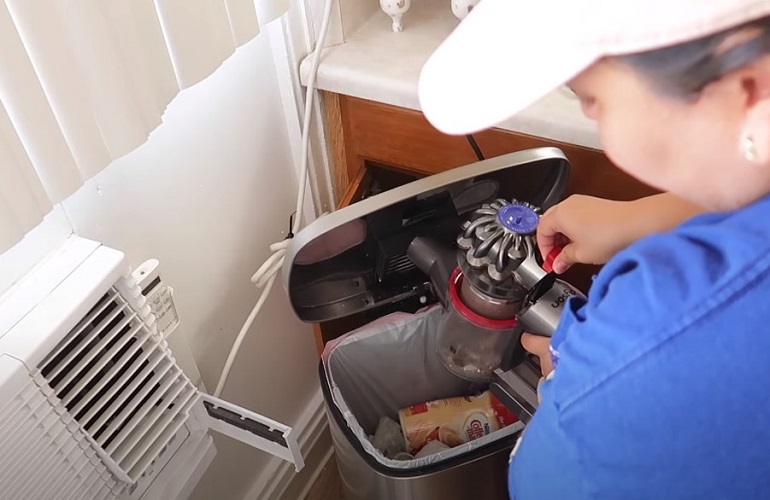
Step 2: Empty the Dustbin
Next, empty the dustbin of the vacuum and dispose of its contents in a trash bag. Regularly emptying the dustbin prevents it from becoming overfilled and maintains optimal cleaning performance.
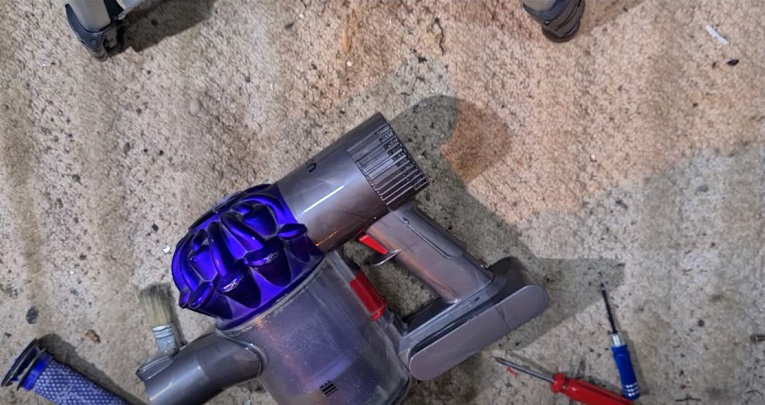
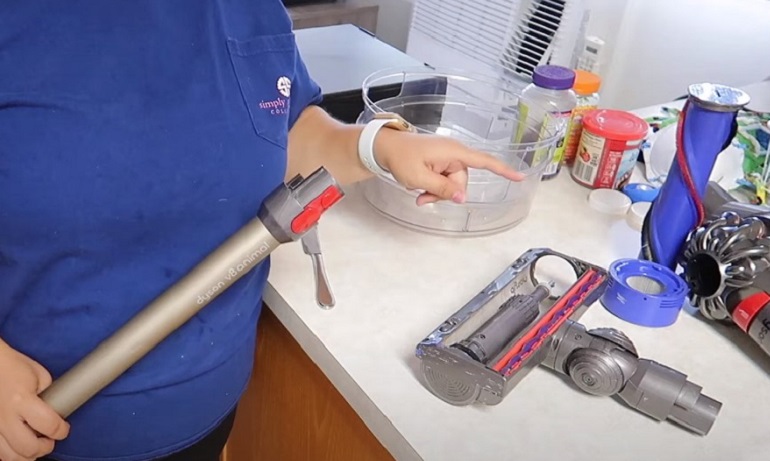
Step 3: Remove the Cyclone Assembly
Locate the cyclone assembly of the Dyson V8, which is the structure that houses the cyclones responsible for separating dirt and debris from the airflow. Carefully detach the cyclone assembly from the vacuum.
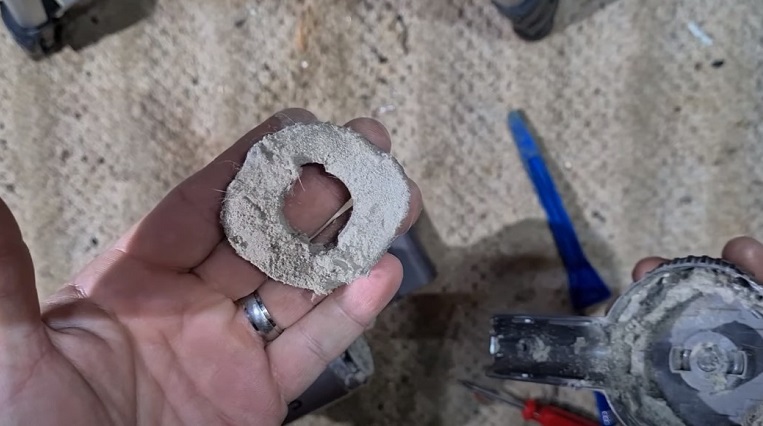
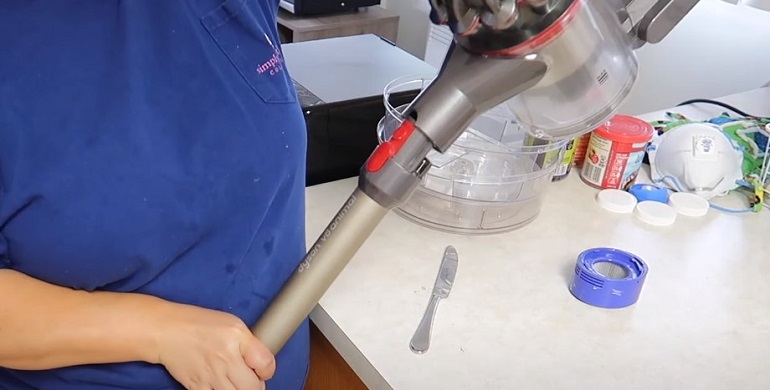
Step 4: Use a Flat Tool to Unfasten the Screen Filter
With the cyclone assembly removed, use a flat tool (such as a screwdriver or plastic prying tool) to unfasten the screen filter. The screen filter is usually found at the top of the cyclone assembly and helps in filtering fine particles.
Step 5: Carefully Remove the Cyclone
Once the screen filter is unfastened, carefully remove the cyclones from the cyclone assembly. The cyclones are cone-shaped structures that create powerful centrifugal forces to capture dirt and dust.
Step 6: Disassemble the Top Cyclone Assembly
To access the individual cyclone components, disassemble the top cyclone assembly carefully. This may involve unscrewing or unclipping parts of the assembly, depending on the model.
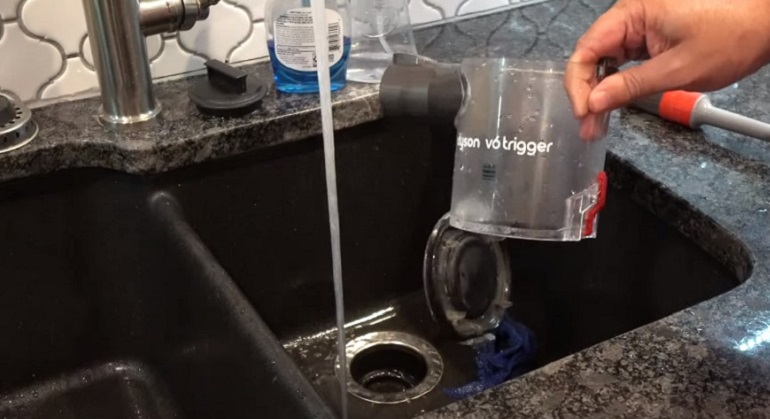
Step 7: Wash All Component
With the cyclone components disassembled, wash each part thoroughly with cold water. Use your hands or a soft brush to remove any stubborn dirt or debris from the cyclones and other components.
Reassembling the V8 Cyclone:
Reassembling the V8 Cyclone: Step-by-Step Guide
- Attach the Black Gasket to the Cyclone Assembly
To start the reassembly process, attach the black gasket to the cyclone assembly. The gasket serves as a seal, ensuring a proper connection between the cyclone components.
- Join the Cyclone Cover and the Part Above
Align the cyclone cover with the part above, which is the top section of the cyclone assembly. Securely join these parts together, ensuring they fit snugly.
- Reattach the Red Gasket to the Assembly
Next, reattach the red gasket to the cyclone assembly. This gasket plays a crucial role in preventing air leaks and maintaining suction efficiency.
- Attach the Inner Cyclone to the Assembly
Carefully place the inner cyclone inside the cyclone assembly. Ensure it fits properly and aligns with the other components.
- Install the Outer Cyclone and Fasten the Bolts
Now, it’s time to install the outer cyclone over the inner cyclone. Align the bolt holes and securely fasten the bolts to hold the cyclones together.
- Reattach the Inner Cyclone Cover
After securing the cyclones, reattach the inner cyclone cover. This cover protects the cyclones and ensures they remain aligned during operation.
- Reattach the Outer Cyclone Cover
Proceed to reattach the outer cyclone cover. This cover provides an additional layer of protection and houses the red lever that controls dustbin emptying.
- Reattach the Outer Mesh Filter
Next, reattach the outer mesh filter. This filter traps finer particles before the air passes through the cyclones.
- Connect the Red Lever on the Cyclone Assembly
Ensure the red lever on the cyclone assembly is connected properly. The lever is essential for effortless dustbin emptying.
- Slide the Cyclone Assembly Back onto the Vacuum’s Motor
With all components securely attached, carefully slide the cyclone assembly back onto the vacuum’s motor. Ensure it fits snugly and is correctly aligned.
- Reattach the Dustbin to Complete the Cyclone Reassembly
Finally, reattach the dustbin to the vacuum. The cyclone reassembly process is now complete, and your Dyson V8 is ready for efficient cleaning.
Conclusion:
Cleaning the filter of your Dyson V8 cordless vacuum is a simple yet crucial task to maintain its powerful suction and overall cleaning performance. Regularly removing debris, dirt, and hair from the filter ensures that the vacuum continues to perform optimally on bare floors, hardwood floors, carpets, low-pile carpets, and various other surfaces.
By following these step-by-step instructions and keeping the filter clean, you can enjoy the convenience and efficiency of your Dyson V8 Absolute for many years to come. Remember to refer to the user manual for specific care instructions and replacement intervals for the filter and other parts to keep your Dyson cordless vacuum running like new.